Do you know what ebru is?
Well, you might recall the swirly multi-colored paper used for endsheets in old leather-bound books…paper marbling? It always reminded me of the oil-colors we used for decorating Easter eggs. Well, anyway, that’s ebru, the Turkish art of paper marbling.
Ebru is an ancient art that most likely originated in China. It was transported to Iran and Anatolia (later Turkey) along the Silk Road, and evidence of this art is seen in manuscripts dating back to the 1500’s. I’ve always been fascinated with this process, and last weekend I got to see it firsthand. Where? At the Robert College Fine Arts Festival. One of their many interesting booths demonstrated ebru paper marbling, and festival participants got to try their hands at it—for free!
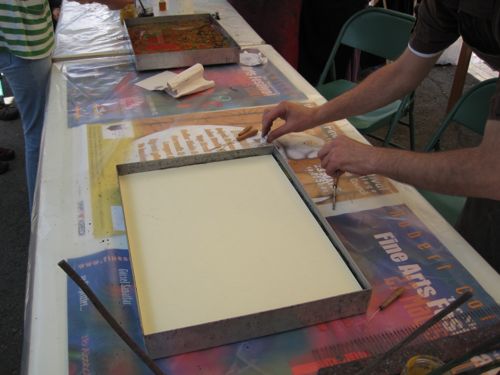
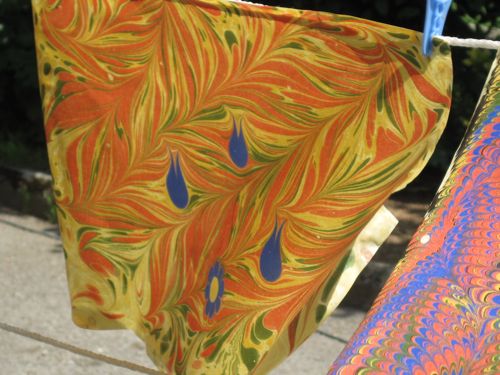 Someone’s creative work awaits their return
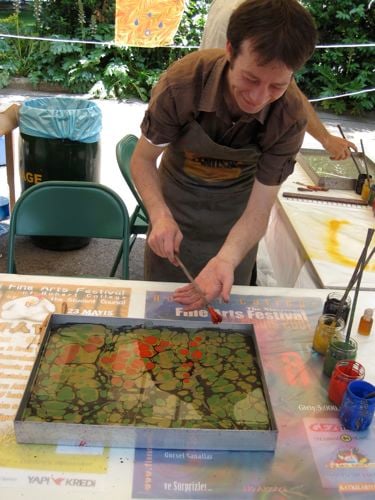
It’s a fascinating process. A square pan of water sits at the ready to have oily paints splattered it. Actually, it’s not plain water, but water with gum tragacanth mixed in it. Next, a heavy horsehair brush is dipped in a pigment, more a dye than a paint, and splattered on the surface of the gummed water. It’s important to squeeze most of the paint off the brush, then tap the brush lightly against your hand to splatter color on the water.
An artisan demonstrates tapping dye onto the water’s surface.
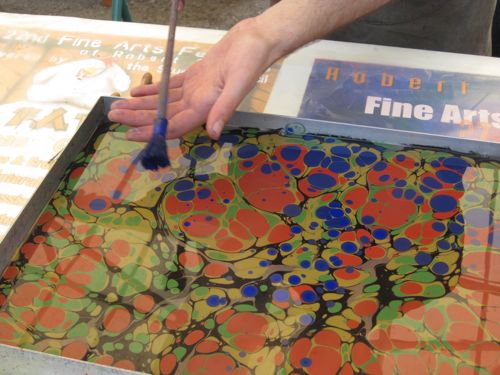
Just as you would expect with oil colors, they spread out. You begin with yellow, the lightest color, then go to darker colors, layering the “spots” as you go.
A final splattering of blue dye
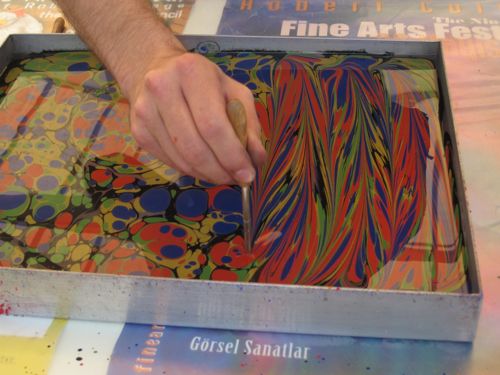
Once you’ve splattered all the colors on the water, you take a small stick and swirl the colors into a pattern, stretching the dots into interesting shapes, much like marbling two colors of cake batter into a marbled cake. The difference here, though, is the fine blending of the colors as they intermingle.
Swirling the dots into marbled designs
After developing a neatly swirled design across the surface, it’s possible to vary that in a number of ways. You can draw a stick through the patterns in the opposite direction, or draw a comb-like board with evenly-spaced nails across it to form a more intricate pattern. It’s hard to explain, but a photo says it all.
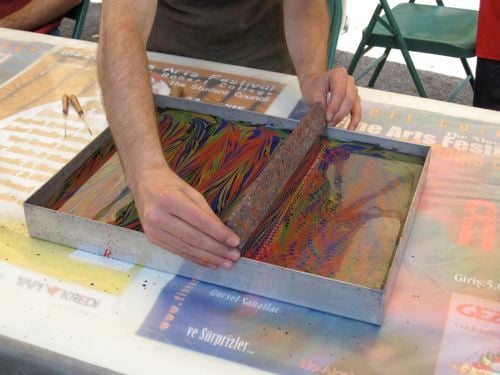 Pulling a pin-comb across the surface
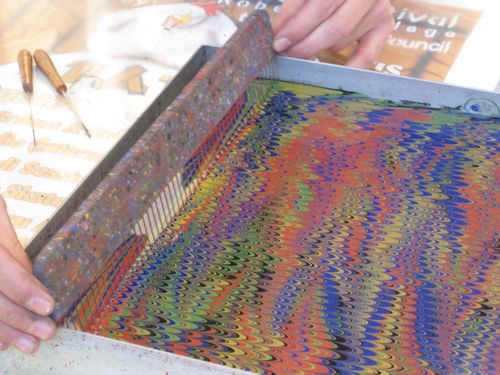 …for a totally different result
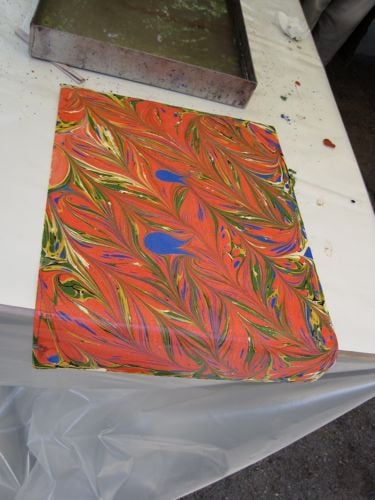
After all that, it’s possible to put larger dots of color on top of it all and shape that into a tulip or a multi-petaled flower. It’s all very fascinating. Apparently the overlayering of tulips and larger designs was an Ottoman invention—started by an imam at the Haghia Sophia.
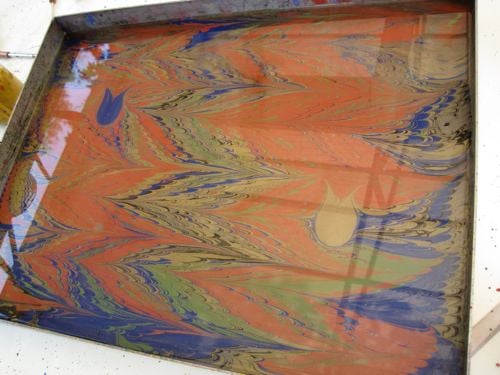 A few tulips add to the magic.
Though it seems a complicated art, even young children at the art festival managed some very interesting patterns—certainly more creative than those of we adults!
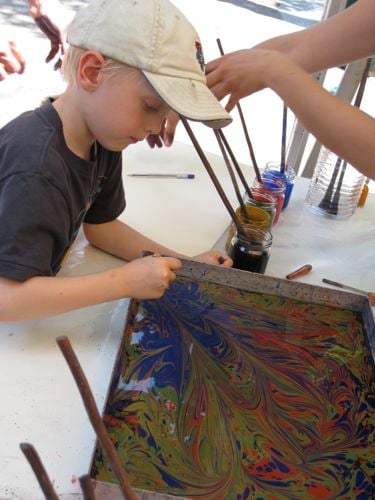 Young Elijah, budding artist, creates his own unique ebru
My niece Laura had a go at it, as did her friend Yvette. I was too shy (and too busy snapping photos).
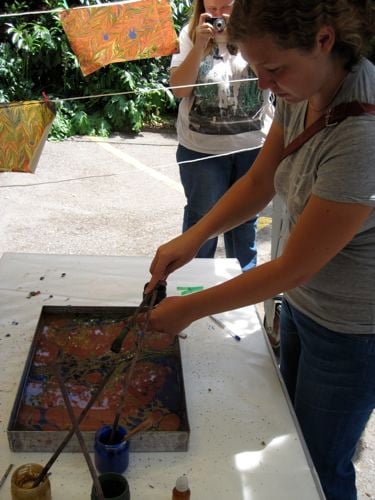 Laura taps in the last bits of color
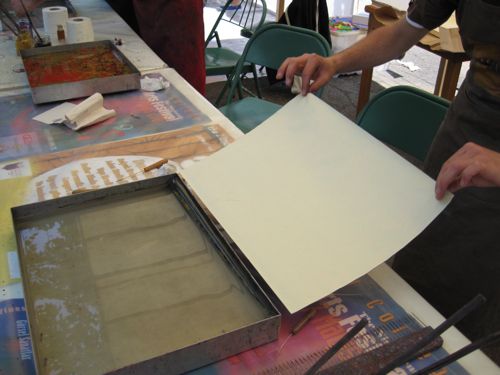
Once the artist is satisfied with the water-borne patterns, a sheet of paper is neatly laid over it. I expected the artisan to peel the paper up from the water, but instead he dragged it across one edge of the metal pan, colored side down. Thanks to the gummed water and tensioning agents, the design stayed totally intact—AMAZING!
A sheet of paper is set atop the dyes…
…and slid off, taking all the dye with it.
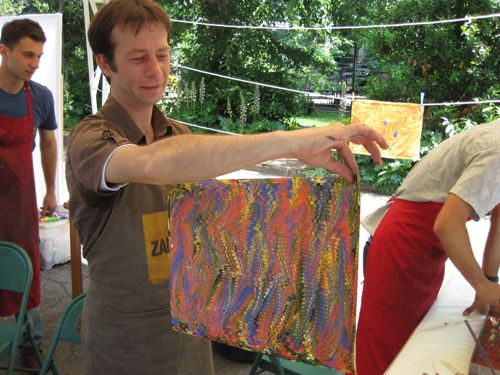
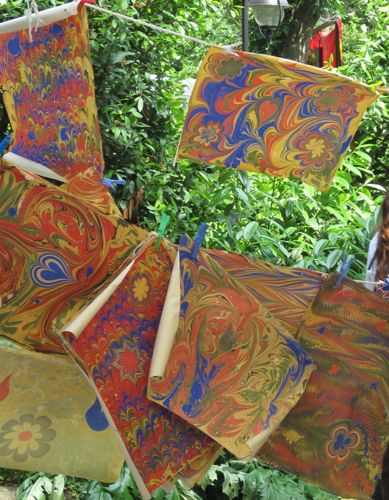
Voila! Magnifique! (or—çok güzel!)
After hanging for about ten minutes in the sun, it was dry, ready to go home with whomever had made it.
And that, my friends, is a simple introduction to the amazing art of ebru.
The idea of you being “too shy” to try anything is kind of laughable…
That looks like so much fun. I cannot wait to revisit Istanbul!
Hope you are healing and getting around better.